In Parts 2 and 3 of the homelab build series I added HBA cards and a pair of Dell PowerVault DAS enclosures to the lab. And up to this point, all of the lab devices and components have been spilled out in the corner of my guest bedroom. I really needed to get everything out of the pile on the floor and into an enclosure of some kind.
Fortunately I already had something that might work for this purpose—a Calzone brand flight case I got at an auction a few years ago and had been using as an enclosure for a PA, a guitar amp, some miscellaneous music and sound recording gear.

While I was un-racking my audio gear to make room for my lab gear, I noticed that the Calzone only had a pair of rack rails in the front of the case. I’m pretty sure all of the server racks I’ve seen in datacenters have had two pairs of rack rails, providing a total of four attachment points for equipment.
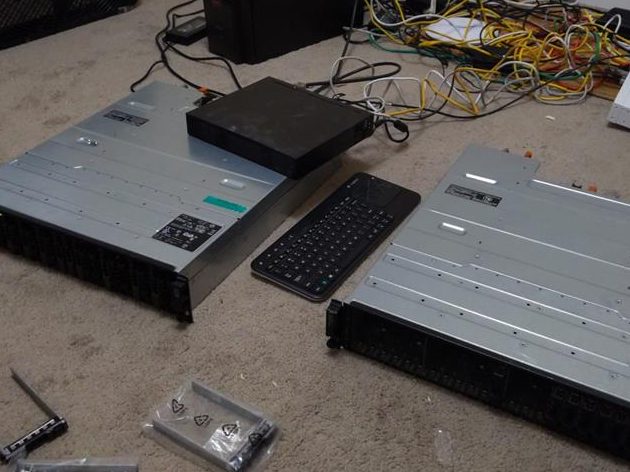
The Calzone had been able to accommodate all of my shallow and relatively lightweight old audio gear with only a single pair of rack rails in the front. But the PowerVaults—weighing in at over 40lbs each without any storage devices installed—would definitely require support in the front and the rear.
By this point I’d made a list of things that I’d need in order to get the Calzone case ready for its new life as a homelab enclosure. So far this included a pair of 18U/31.5″ rack rails for the back of the case, 1/4″ fasteners for attaching the new rails, a pair of 2U/3.5″ rails for network switches, and a couple of 10″ 1U trays to support each Superserver and its power supply brick. I would also need rack shelves to support each PowerVault, since the ones I’d bought second-hand didn’t include mounting rails.
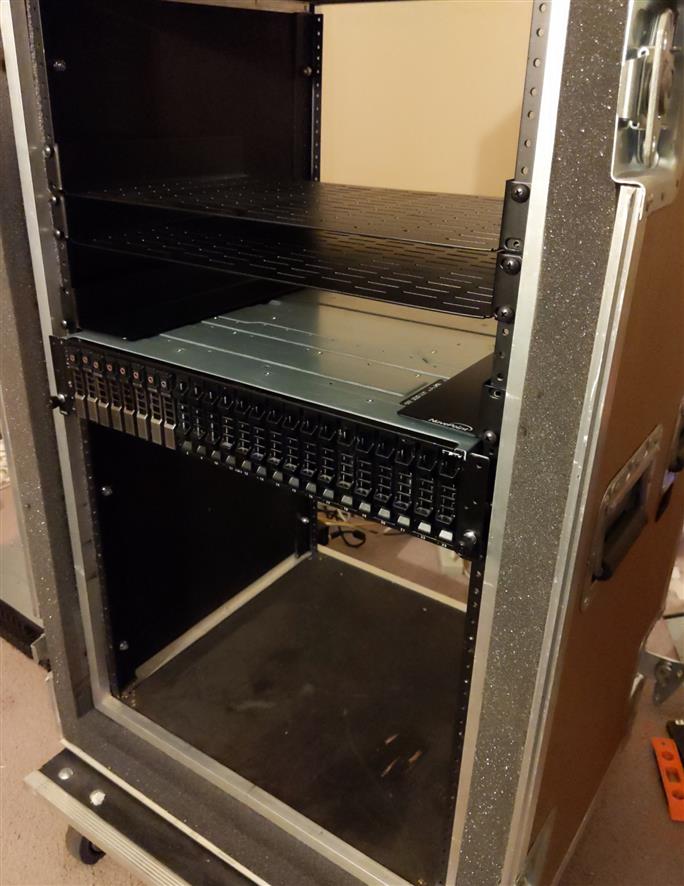
After the new rails arrived—and after a trip to the hardware store for the fasteners—I was able to get started installing the rack rails in the case.


To support the PowerVaults I grabbed two pairs of NavePoint universal rack mounting shelves, which unfortunately did not fit in the Calzone rack case as-is. The rack ears on the NavePoint shelves were wider than the rack rails of the case. Instead of returning them and ordering rack shelves from a different manufacturer, I opted to remove about 1/16″ of material from the edge of the rack ears with an angle grinder. This would give them the clearance needed to allow the holes in the shelf ears to align with the screw holes in the case rails.
Here’s a look at one pair of my NavePoint rack shelves, one with the “extra” metal ground off and sanded smooth (left) held next to one with an un-modified ear (right):

But other than the issue with the ears on the NavePoint rack shelves, converting the Calzone flight case into a server rack was pretty straightforward and trouble-free.
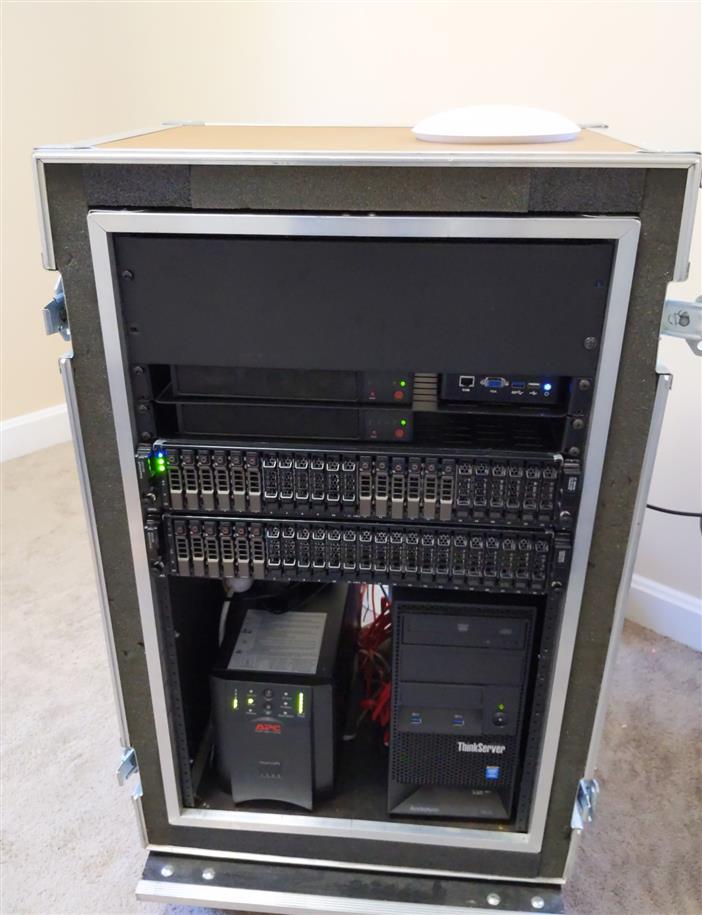
Would I recommend this route to others who are in the market for a rack solution for their server equipment? Absolutely! I think it’s definitely worth evaluating some rack enclosures that may have originally been made for audio/visual applications. Though keep in mind that it may be necessary to make some minor modifications to your rack if you decide to go this route.
Because my rack case has casters on the underside, I’ve been able to wheel my lab out of my guest bedroom and into the hall whenever I have visitors staying at my house. While some folks might actually appreciate the soothing white noise of the PowerVaults’ PSU cooling fans before bedtime, having everything on wheels makes that experience an optional one. 😉